


Windows 10 performance tweaks and optimization: Windows 10 high CPU and RAM memory usage issue after update from Windows 7, 8 and 8.1 or after installing new softwares, some time high CPU utilization due to virus, malware or newly installed drivers on system, first check what recent change you made before the issue, try to undo whatever you done and check again, need to find the root cause of the issue before trying to resolve and fix, will explain in-detail how to check what causing the desktop high CPU and RAM memory usage issue, same procedure can be used to optimize your Windows 10 PC/Laptop performance and increase speed of your computer without any hardware upgrade
Also Read: Troubleshooting Tips for Windows 7, 8.1 and Windows 10 Slowness Problems
Check what is causing Windows 10 High Memory/RAM/CPU Usage
Task Manager has been used to check what process using more memory and processor, and you can kill the affected process to resolve the issue
- Open Task Manager by CTRL+SHIFT+ESC
- Select Process
- This will list all the running process and there system resource usage like CPU/Memory/Disk/Network
- Now you will know which process causing the performance issue
- Understand more about the process before kill
- Right click the process and select End Task to kill the process
- If you not sure about the process then just right click and select search online

Also Read: Windows 10 Keyboard Shortcuts Tricks and Tips
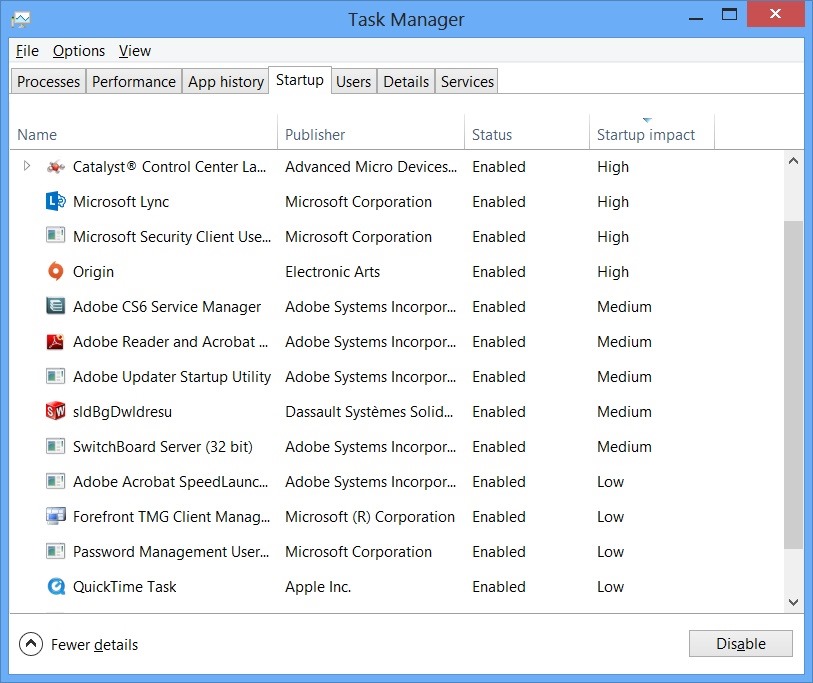
Improve Windows 10 Desktop system performance by optimizing start-up
- Open Task Manager by CTRL+SHIFT+ESC
- Select Srart-up
- This will list all programs which will start while the time of system boot
- Disable unwanted programs this will free up dome memory
- Don’t disable mandatory programs like Antivirus
You can also use the performance tap to monitor real time system performance with graphical illustration
Also Read: How to Get F8 Boot Menu and Safe Mode on Windows 10
Other Windows 10 Performance increase tricks
- Click Desktop icon on start screen of Windows 10
- Right click on Computer icon
- Select Properties
- And Select Advanced System settings
- Select Settings in System properties windows
- Select Adjust for best performance
- Click Apply
- And Restart the computer
Check and fix the affected device driver issues
Install new driver from manufactures website and try to install drivers in Compatibility mode on Windows 10
Check and Fix Windows 10 Memory Leak issue
If Windows 10 is experiencing driver incompatibility issues, faulty or outdated driver can lead to a Memory leak issue, malware and viruses can also be cause of Memory leak issue, recommend you install Antivirus/malware software and runs full system scan to fix the issue
Also Read: Windows 10 Permission issue with Domain Admin
Restart the System
Yes, in my experience system restart will resolve most of the issues (not all the issues) in Windows Desktop/Servers, reboot will clear memory and remove all process that loaded after the startup and if you made any of above changes then restart will make sure apply them to system permanently
Hope this will help you to fix the Windows performance issue, share your feedback /comments
Other Windows 10 Article
Related posts:
 Windows 10 Keyboard Shortcuts Tricks and Tips
 Fix: SD card not working issue and How to upload pictures from SD card on Windows 10
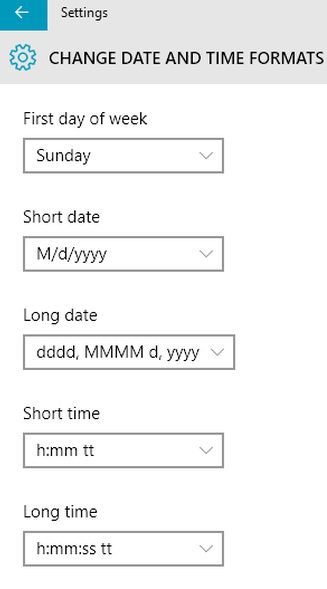 How to Change Windows 10 Date and Time Format from 24 Hour to 12 Hour Clock
 Difference between windows 10 hyper v and windows server 2012r2 hyper v
Why Chrome & Edge have so many processes in Windows 10
Difference between windows 10 hyper v and windows server 2012r2 hyper v
Why Chrome & Edge have so many processes in Windows 10

